Project Walkthrough
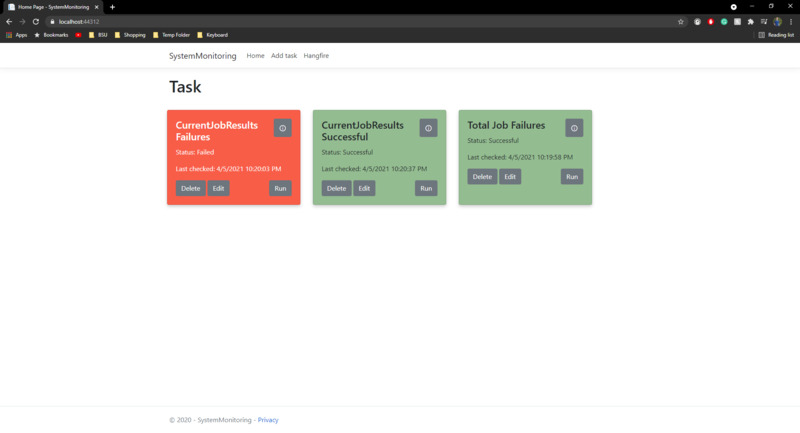
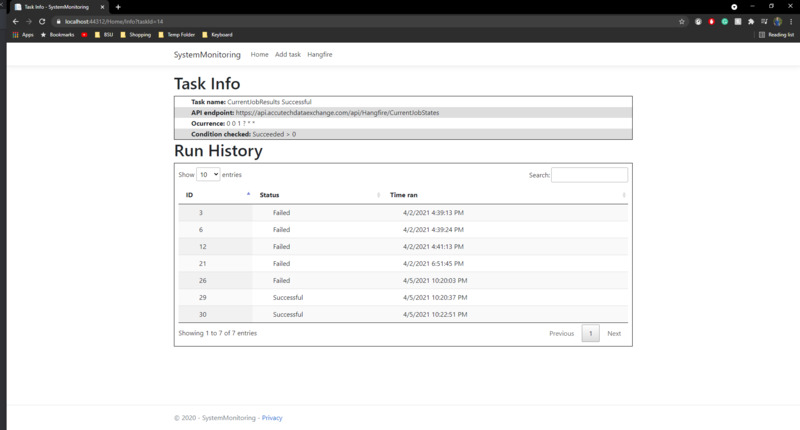
Our Home Page is the source for where you can access every part of the project. From here we can see all of the tasks that are running off of our database. In our basic showing, we have three tasks that we can interact with. Each task is color indicated for if the most reason check was either a success or a failure. We also display information on the most recently run task. On each item, we can interact to edit, delete, view history, and run the task.
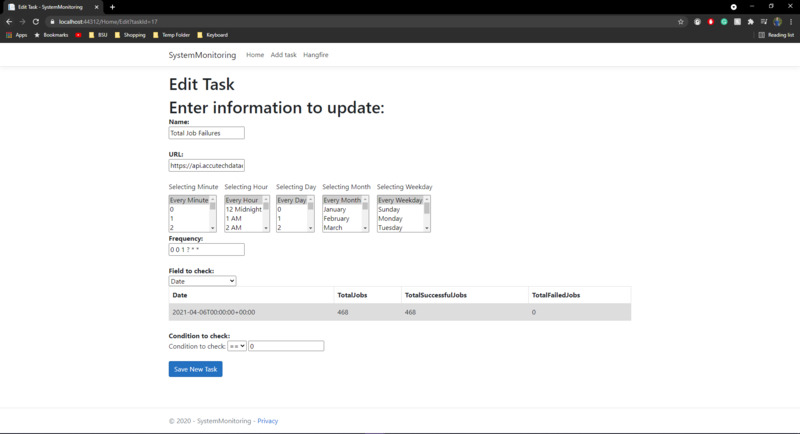
The edit page will take the information that is already assigned to the selected item and input it into a format that is similar to how we add our tasks as well. From there you can change all of the information that you would like.
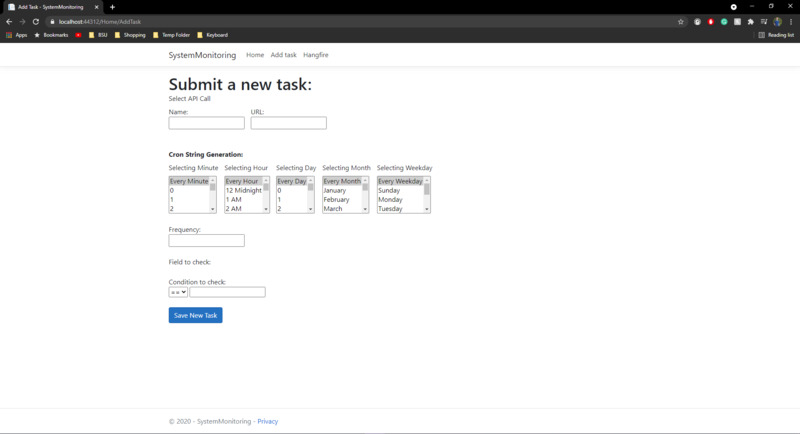
The add task page is where you can create a new task to be run. On the add task page you must enter an API endpoint, a name, select how often the task should run, which field of the API you want to check, and the condition that is going to be checked. One nice feature from this is that the URL that is entered is checked to see if there are items that are returned, and then returns those items and displays them for the user to see and choose from.
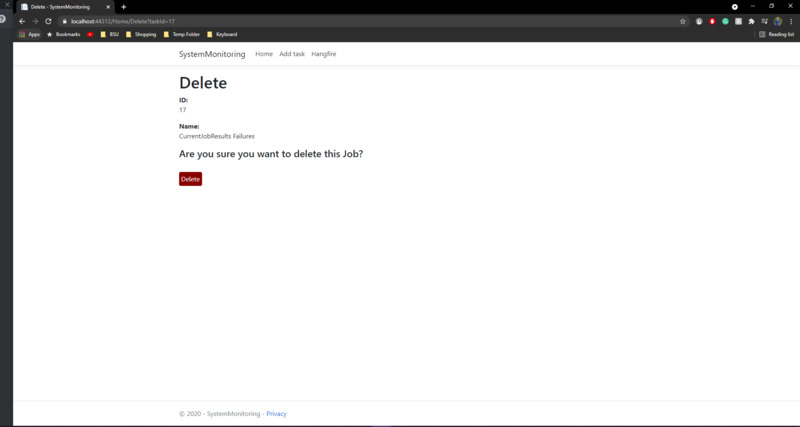
The delete page allows you to delete a task which will remove it from the database and delete the recurring job that is associated with the task.

